
.png)

We just made our first batch of Elderberry Syrup for the season.. with kids headed back to school, fall germs and dare I say flu season around the corner, I'm staying ahead of the curve as much as I can. There is a time & place for modern medicine, but there's not much that they can do for the common cold or even a mild form of the flu - and if you've ever had the flu, you know just how terrible it can be, especially if it's your little ones.
As a child, I remember we'd always go out a pick bucket loads of berries - but my parents always sought out elderberries. We made jams and syrups and used them all winter long.
Elderberries have been used as a traditional remedy for hundreds of years - from colds, flu, fever, burns & cuts, bladder & urinary tract issues and even stomachaches. Rich in flavonoids, particularly anthocyanins which are a powerful antioxidant that keeps the immune systems strong. This high antioxidant activity stimulates the immune response while bioflavonoids and other proteins in the juice of the berry deactivate the cold or flu virus enzymes that can infect our cells. On top of that, they are rich in vitamins A, B & C. In short, the immune-boosting compounds in Elderberries have been specifically shown to help beat the cold and flu more quickly by inhibiting duplication of the virus.

During the cold winter months, most stores are wiped out of their over-priced syrups - they are usually for around $15-$23 or more for 4-8 ounces. This recipe makes 16oz for under $10.
We take 1 tsp every few hours when we are feeling under the weather and every day or two to keep our immune systems humming along - especially in the winter months when I hear of all the things going around.
We also add immune-boosting essential oils to ours - this recipe is versatile, so feel free to adjust the spices or essential oils as you'd like!

Suggested additions:
Thieves Vitality - we use this blend of Clove, Lemon, Eucalyptus, Rosemary & Cinnamon Bark all year for overall wellness & immune support. Named for the legend of the 4 thieves who during the 15th century would rob the graves of the dead and dying during the plague, but never got sick. When they got caught, they traded their recipe for a lesser sentence. There's many amazing medical studies around this blend.
Clove Vitality - and extra boost of antioxidants! Antioxidants are known for their ability to fight free radicals.
Frankincense Vitality - this powerful oil supports cell health & function - you should google the benefits of this one - you will be blown away!
Nutmeg Vitality - Circulation boost that also supports the nervous & endocrine systems!
Ginger Vitality- Over 70% of our immune system resides in our gut, so keeping digestion optimal is important.
Cinnamon Bark Vitality - and extra boost of strong immune support with this oil. Plus the warm, spicy flavor is perfect.
Orange Vitality - We love the boost of fruity flavor, but Orange has many benefits including the fact that it's cleansing, uplifting, aids digestion & is high in d-limonene!
If you want to learn more about essential oils? Come follow along over here!
ELDERBERRY SYRUP
2/3 cup dried organic black elderberries3 1/2 cups water
1 cup raw local honey
YL Vitality Essential oils: Thieves, Clove, Frankincense, Cinnamon Bark, Nutmeg, Ginger & Orange)
1. Add water & elderberries to a large pot and bring to a full boil.
2. Cover and reduce heat to a low simmer for (a minimum) 45 minutes to an hour, until the liquid reduces by almost half.
3. Remove from heat and let cool until it is cool enough to be handled.
4. Pour 75% of the juice through a strainer into a glass jar or bowl. Return any berries to the pan and mash the berries carefully using a spoon or other flat utensil. Pour this remaining portion through the strainer as well. Discard the elderberries and let the liquid cool to lukewarm.

5. When it is no longer hot, add the honey and Vitality oils:
1 drop Thieves
1 drop Clove
1 drop Nutmeg
1 drop Ginger
1 drop Cinnamon Bark
3 drops Frankincense
5 drops Orange
Stir well.

6. Pour into a mason jar (or any glass jar with a well fitting lid) and store in the fridge. Add to your daily (or every other day) routine for an immune boost!
When the honey is well mixed into the elderberry mixture, pour the syrup into a mason jar or 16 ounce glass bottle of some kind.
DOSING: Standard doses are 1/2-1 teaspoon for kids and 1/2 - 1 tablespoon for adults. If a cold or flu does strike, take the standard dose every 2-4 hours until symptoms subside.
Have you tried Elderberry syrup before? Have you made your own? I'll probably make a batch into homemade gummies soon too!
xoxo, McKenzie


Long overdue for a recipe over here.. This week the pile of fresh tomatoes on our kitchen counter + cool fall-like weather + three piles of orange & brown leaves in our backyard had me feeling like soup should be on the menu.
We have definitely been blessed by a fruitful garden this year and I can't get over it. We added 3 more raised beds this year and planted things I most commonly buy at the store and it's been more than worth it.
If you have ever had more than one tomato plant, you know what I mean when I say you can't eat them all - meaning salads, snacks etc.. You have to use them in recipes!
We have 8 tomato plants - 4 grape tomato & 4 big slicer tomato plants. Homegrown, truly vine-ripened tomatoes taste amazing - unlike anything you can get at the store. Am I right?
Okay - back to the soup recipe. I've made tomato soup before with canned tomatoes, but never fresh. A quick browse on Pinterest will show you lots of recommendations to roast your ingredients, blend it up and simmer everything for a bit, so that's what I did. SUPER EASY. After we enjoyed a couple bowls of soup with grilled cheese sandwiches (because, best combo ever!) I thought about ways to streamline this even more.. so I added notes on that below too!

The recipe for the simplest, most delicious tomato soup with fresh tomatoes, coming at ya!
HOMEMADE TOMATO SOUP
3-4lbs fresh tomatoes, cored & sliced in half side to side, seed removed6 cloves peeled garlic
2 sweet onions (1-2 cups rough chopped)
Olive oil to drizzle (about 1/2 cup)
1 quart chicken or bone broth
Basil - 1/4 cup fresh chopped or 1 tsp dried or 1 drop Basil Vitality
Oregano - 1/8 cup fresh chopped or 1/2 tsp dried or 1 drop Oregano Vitality
Salt & Pepper to taste
Preheat your oven to 450 degrees. Line 1-2 baking sheets with foil.
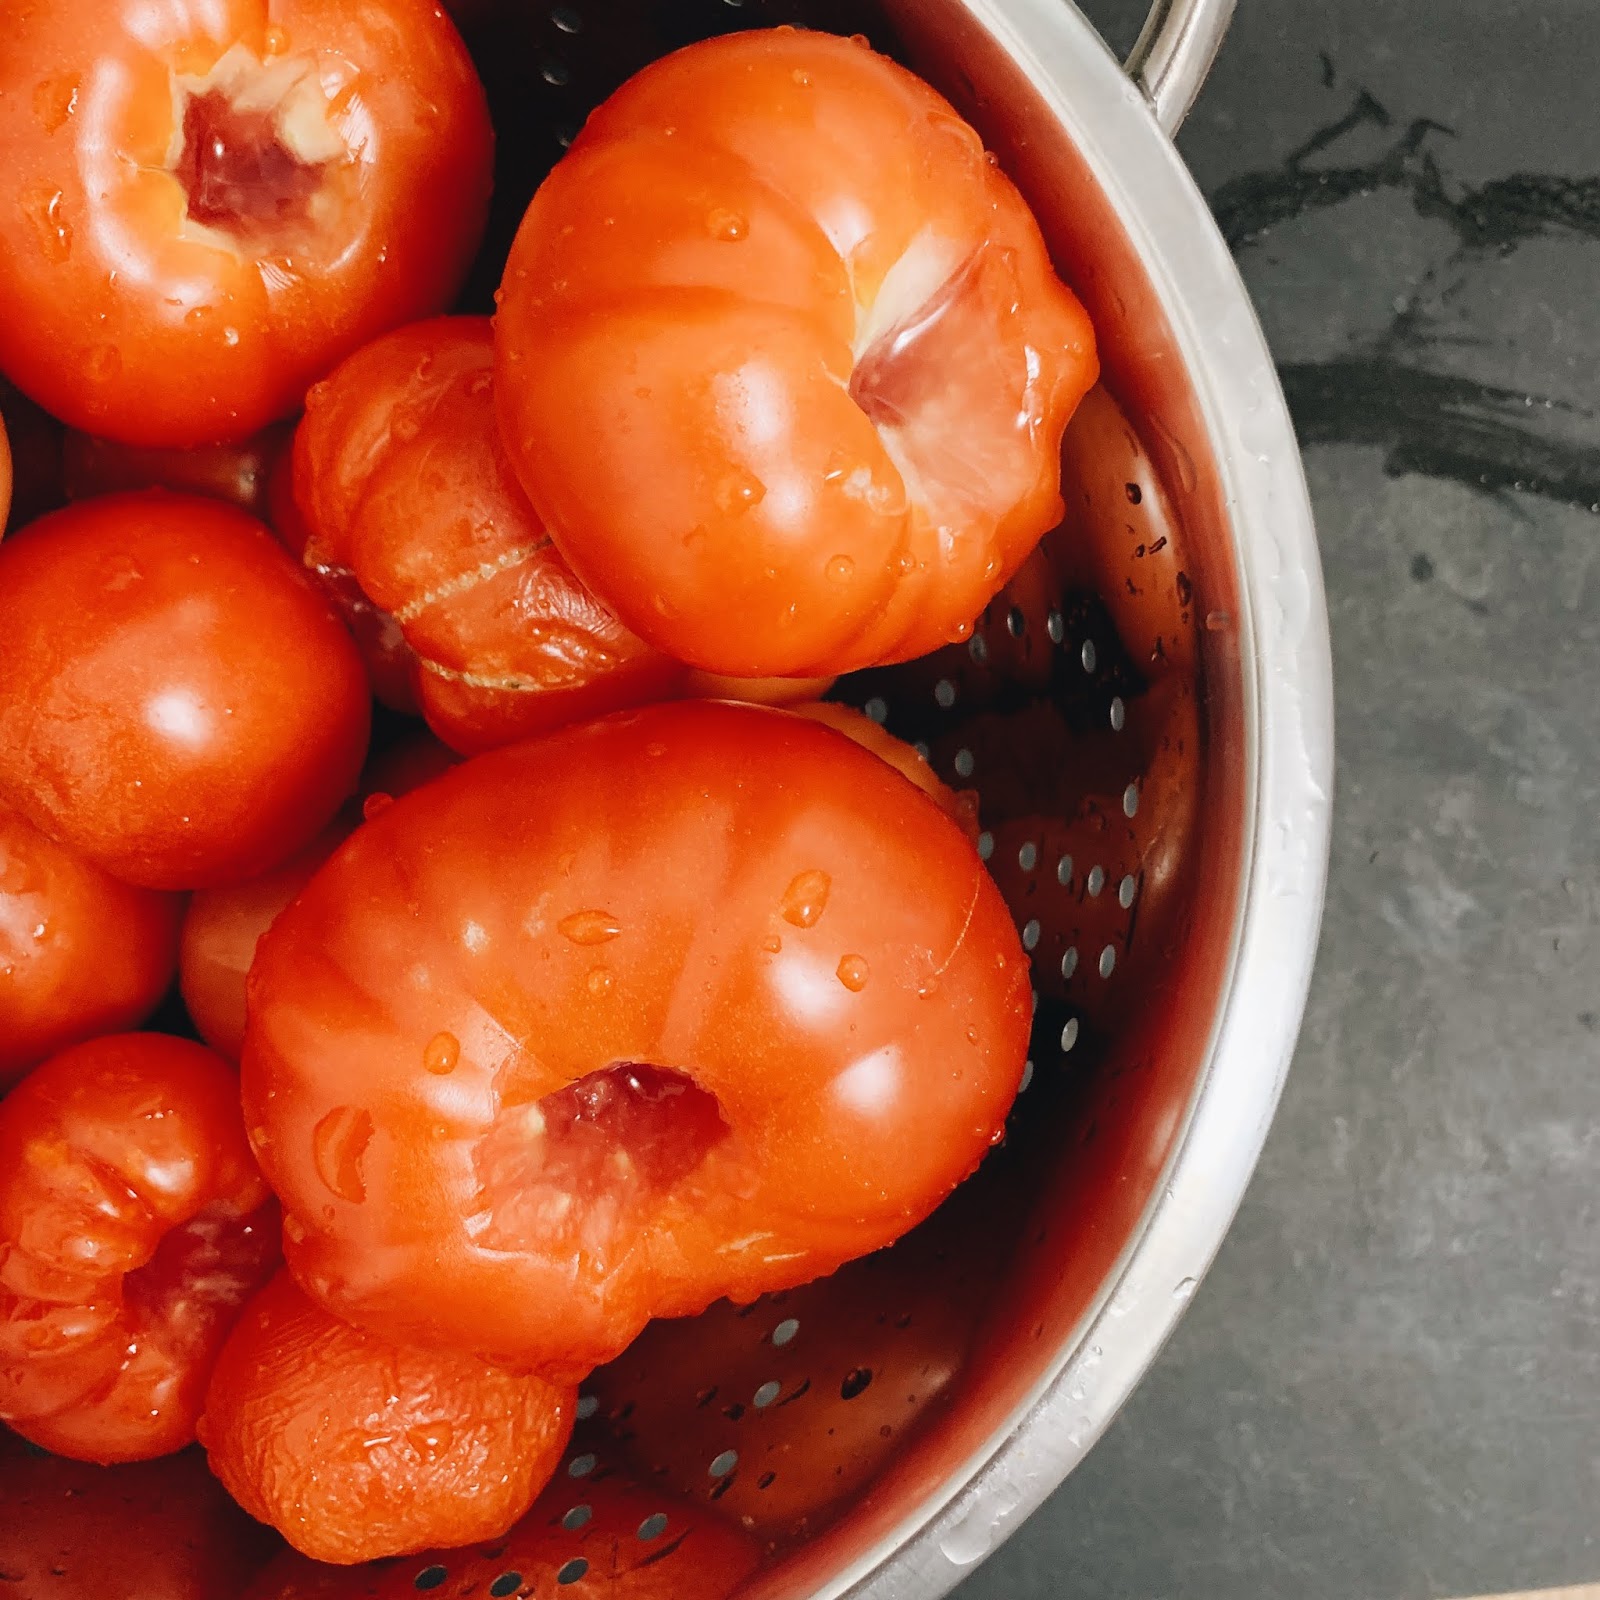
I had a mix of tomatoes to start with so I just removed the stems of the grape tomatoes. I cored & sliced the big tomatoes in half side to side and removed the seeds. This part takes the longest.
I had several small onions from the garden, so I sliced them all up into even chunks and had just shy of 2 cups of chopped onions total.

Place the onion, garlic & sliced tomatoes cut side up on the lined baking sheets and drizzle with olive oil + sprinkle with salt & pepper.
Roast for 30-40 minutes, until the onions started to char.
Remove from the oven, let cool slightly then scrape all the oven roasted tomatoes, onions, garlic and olive oil into a blender or food processor and puree until it's your preferred chucky or smooth consistency. Do this in batches if needed. I used the Vitamix at moderate speed for 60-90 seconds.

Transfer your tomato/onion puree to a large stock pot and add a quart of broth and the basil + oregano. I opted for the Vitality oils - these are pure, made for recipes & cooking (more concentrated than extracts and without any fillers). The flavor is very potent and you only need one drop! You may also add more salt & pepper to taste. Bring to a boil, then reduce the heat and let simmer 30-45 minutes. The soup will thicken and the flavors will meld.

You could also lower the heat at the end and add cream if you prefer.
Garnish away! We kept this round simple with Parmesan cheese & basil, but you could add any of the following: sour cream, garlic croutons, goldfish crackers, crackers, roasted salsa or corn, or chopped, crispy bacon!

COOKING OPTIONS:
Roast everything the night before, puree & transfer/store overnight in the refrigerator to cool. The next morning, pour the puree + broth into your preference of:
a) Instant Pot:
+ Use your Instant Pot like a slower cooker with this option. Just add food as you normally would to a slow cooker, close the lid (or use a slow cooker lid) and then press the “Slow Cook” button.
+ Use the “Soup” button, low pressure for 20 minutes.
b) Slow Cooker: low heat for 8 hours.
Could alternately place roasted tomato/onion mixture in Instant Pot or Slow Cooker with broth and use an immersion blender before serving.
Make this?! I've love to see! Tag me at @mckenzie_wheeler on Instagram!


Have your ever started your own tradition? At what point is a tradition? I'm going to count something happening two years in a row as a tradition. And we have a Valentine's tradition..
Cookies + Date Night In.
And it's perfect.
The girls and I make a mess of from-scratch sugar cookies.. there is magic in those gluten 1:1 flours that allow you to take your favorite recipes and make them gluten free! (recipe to follow below) We bust out the mixer, butter.. all the pink & red sprinkles that are piled onto mounds of the best orange-cream buttercream frosting.
And then we have our own little date night in.. which for Seth & I means splurging on some filet mignon steaks & scallops, sharing a good bottle of red wine and cooking ourselves a five-star meal in our very own cozy kitchen.


First.. the cookies.
These are sooo easy and turn out SO good. Not like sugar cookie wanna-be's that end up crusty & crunchy.. but soft, chewy and awesome. I mentioned they are gluten-free - we use a good 1:1 gluten free flour blend (skip ones high in rice flour if you don't want crispy cookies).
Cream together:
2 Sticks Softened Butter + 1 Cup Sugar.
Mix in 2 Eggs + 4 Tablespoons Half & Half + a splash of Vanilla.
Mix well then add in 3 Cups 1:1 GF Flour (a cup at a time)
+ 2 Tsp Baking Powder + 1 Tsp Baking Soda.
Mix well with a dough attachment on a Kitchen-Aid or I use my hands.
Refrigerate dough at least two hours.

The trick to GOOD sugar cookies is that when you roll the dough out, don't use flour, but use powdered sugar to keep it from sticking! It will sweeten the dough and offer an amazing, soft texture. Roll, cut & bake at 350 degrees for about 6-7 min.
We love to do a classic buttercream frosting using 1 cup softened butter + 3-4 cups powdered sugar + 2 tsp. vanilla & 2 tbsp. Half & Half. We add in 4 drops of Orange Vitality oil for an "orange creamsicle" frosting that's to die for!


For our date night in.. we both love to cook together and always challenge ourselves to bring out the flavors of a dish with as few ingredients as possible. Seth usually takes care of the steaks & meats and I'll handle the sides or in this case of surf & turf.. I had the scallops.
Scallops can be tricky, because you can overcook them so easily.. I've overcooked many.. But I learned that a big part of cooking them is the pan you use. Typical non-stick pans won't do you any favors, and you want to make sure your pan doesn't have any hot spots. We have a Made In fry pan and we are obsessed - no nonstick finish to worry about flaking off, consistent cooking/results and its easy to clean.


With steaks, 99% of the time we use the smoker or grill, but with these fillets, a couple minutes searing on each side and finishing a couple minutes in the hot oven is perfect!

Served with Parmesan roasted asparagus & browned butter baby bella mushrooms.

Hope you all had the perfect Valentine's Day - whether it was wine + Netflix, a night out or in..
If you save the recipe & make these sugar cookies, we're thinking all things Spring & Easter now.. let me know! I can't wait to hear what you think!

You know where you kinda stick to the same things every week for simplicity sake? I've seemed to have finally escaped that food rut and have some easy & delicious recipes coming your way! One of which is this super simple yogurt.
This venture into yogurt-making started with Emi being sensitive to dairy.. she has developed some serious eczema that goes away when we reduce or eliminate dairy.

Back in my Pinterest boards I had saved a cold-start method that involved an Instant Pot - but my Instant Pot doesn't have that setting. Many of the other recipes require heating and cooling the milk to certain temperatures and that seemed too involved.. I don't have time to babysit yogurt when I have a fearless toddler to keep an eye on..
I needed it to be as simple as possible.
Back to the drawing board with the cold start yogurt method. Over on Amazon I found a highly rated and inexpensive yogurt maker - a machine that keeps jars of yogurt within the correct temperature range for the probiotics to happily multiply. So if your instant pot has a yogurt setting, feel free to use that! If not, get yourself a yogurt maker!

Other things you'll need:
Ultra-Pasturized Milk - we love the Fairlife brand - it's lactose free, lower sugar and higher protein. It was also the first one I tried. It worked. Why fix something that isn’t broken? I’m sticking with Fairlife, but you can use Organic Valley or Horizon, just check the labels.
A Starter/Live Cultures - Similar to how sourdough bread needs a starter, so does your yogurt. You can purchase freeze-dried starter, but the best (and most cost-effective) way in my opinion would be with yogurt. We used Fage, plain yogurt - but you can also use Chobani, Siggi, Dannon & Yoplait.
Once you’ve made your first batch of yogurt you can use your homemade yogurt as your starter. Freeze some yogurt in an ice cube tray, and then use a couple thawed cubes in your next batch.

Cold Start Yogurt
Ingredients1 gallon ultra pasteurized milk like Fairlife brand - let come to room temperature.
2 tbsp plain yogurt with live cultures like Fage brand
Instructions
1. In a large metal or glass mixing bowl (or Instant Pot/IP) combine yogurt ingredients. Whisk until well combined. Evenly distribute into glass yogurt jars - if using Yogurt Maker.
2. If using an Instant Pot, use the glass lid or make sure vent is open so pressure doesn't build. Press the yogurt setting, incubate for 8-10 hours.
If using a Yogurt maker, replace cover and set timer. The amount of fat content in your milk can affect the time as well as how soft or set you'd like your yogurt. Using the longer time frame for "greek-style" yogurt.
Whole Milk: 8-9 hours
2% milk: 10-11 hours
Skim Milk: 12-13 hours
3. When done, without stirring, transfer yogurt jars with lids (or inner pot of IP with lid) to a refrigerator and chill for at least 3 hours (IP: 8 hours)
4. Serve your cold start yogurt plain or with desired toppings - We like to add in a little vanilla extract, raw honey, jams/jellies or fresh fruit.


I plan to play around with making a coconut milk yogurt, however I'm not sure I can do that cold-start. Soon as I have that down, I'll share that too!
When you make this, I'd love to hear how it turns out! Come back and share below!


A week or so into the new year and I'm back. We soaked up the holiday's, and then promptly hit the "refresh" button on December 26th and put all the decorations away. It felt SO good.
With so much focus on the holiday season we ended up putting our efforts into making the month of December as magical as we could for the girls, which was both fun and kinda crazy. We fell into a bit of a food rut through. So with the new year, I'm seeking to mix things up a bit - and it started with these drumsticks.
We always end up with chicken breasts or thighs and sometimes I'll make hot wings on the weekend - I rarely ever grab drumsticks - I actually can't remember the last time we had some, but with the post-holiday sales at the store, I couldn't pass them up.
I took the same approach with these as I do with chicken wings, cooking them in the oven with a higher heat to seal in the juices. I suggest you use bone-in, skin-on chicken thighs and/or drumsticks for this recipe. Chicken on the bone takes a bit longer to cook but is always juicier than boneless, and keeping the skin on will give you the yummy, crispy skin that tastes just so delicious.
When grilling chicken, it is usually basted frequently with sauce throughout the cooking process. The same technique is used for this recipe: after initially baking for 35 minutes, the chicken is basted in sauce & cooked for a couple short rounds to build flavor and crisp up.

INGREDIENTS:
8-12 chicken thighs and/or drumsticks (bone-in, skin on)
2 cups of your favorite barbecue sauce
olive oil, salt, pepper & garlic powder
- Preheat oven to 400 degrees F.
- Coat the chicken on all sides with olive oil and season with salt, pepper and garlic powder.
- Place the chicken skin side up on a foil-lined baking sheet. Bake for 35 minutes.
- Remove chicken from oven and turn the temperature of the oven up to 425 degrees.
- Coat the top of the chicken with barbecue sauce using a basting brush. Use tongs to flip the chicken over and baste the other side of the chicken, and place back in the oven for 10 minutes.
- Remove from oven, flip the drumsticks and baste again with barbecue sauce, and place back in oven for 10 more minutes or until chicken is crispy, parts are blackened, and it’s fully cooked.
NOTES:
Chicken not crisping up to your liking? Try broiling it for a few minutes at the end.
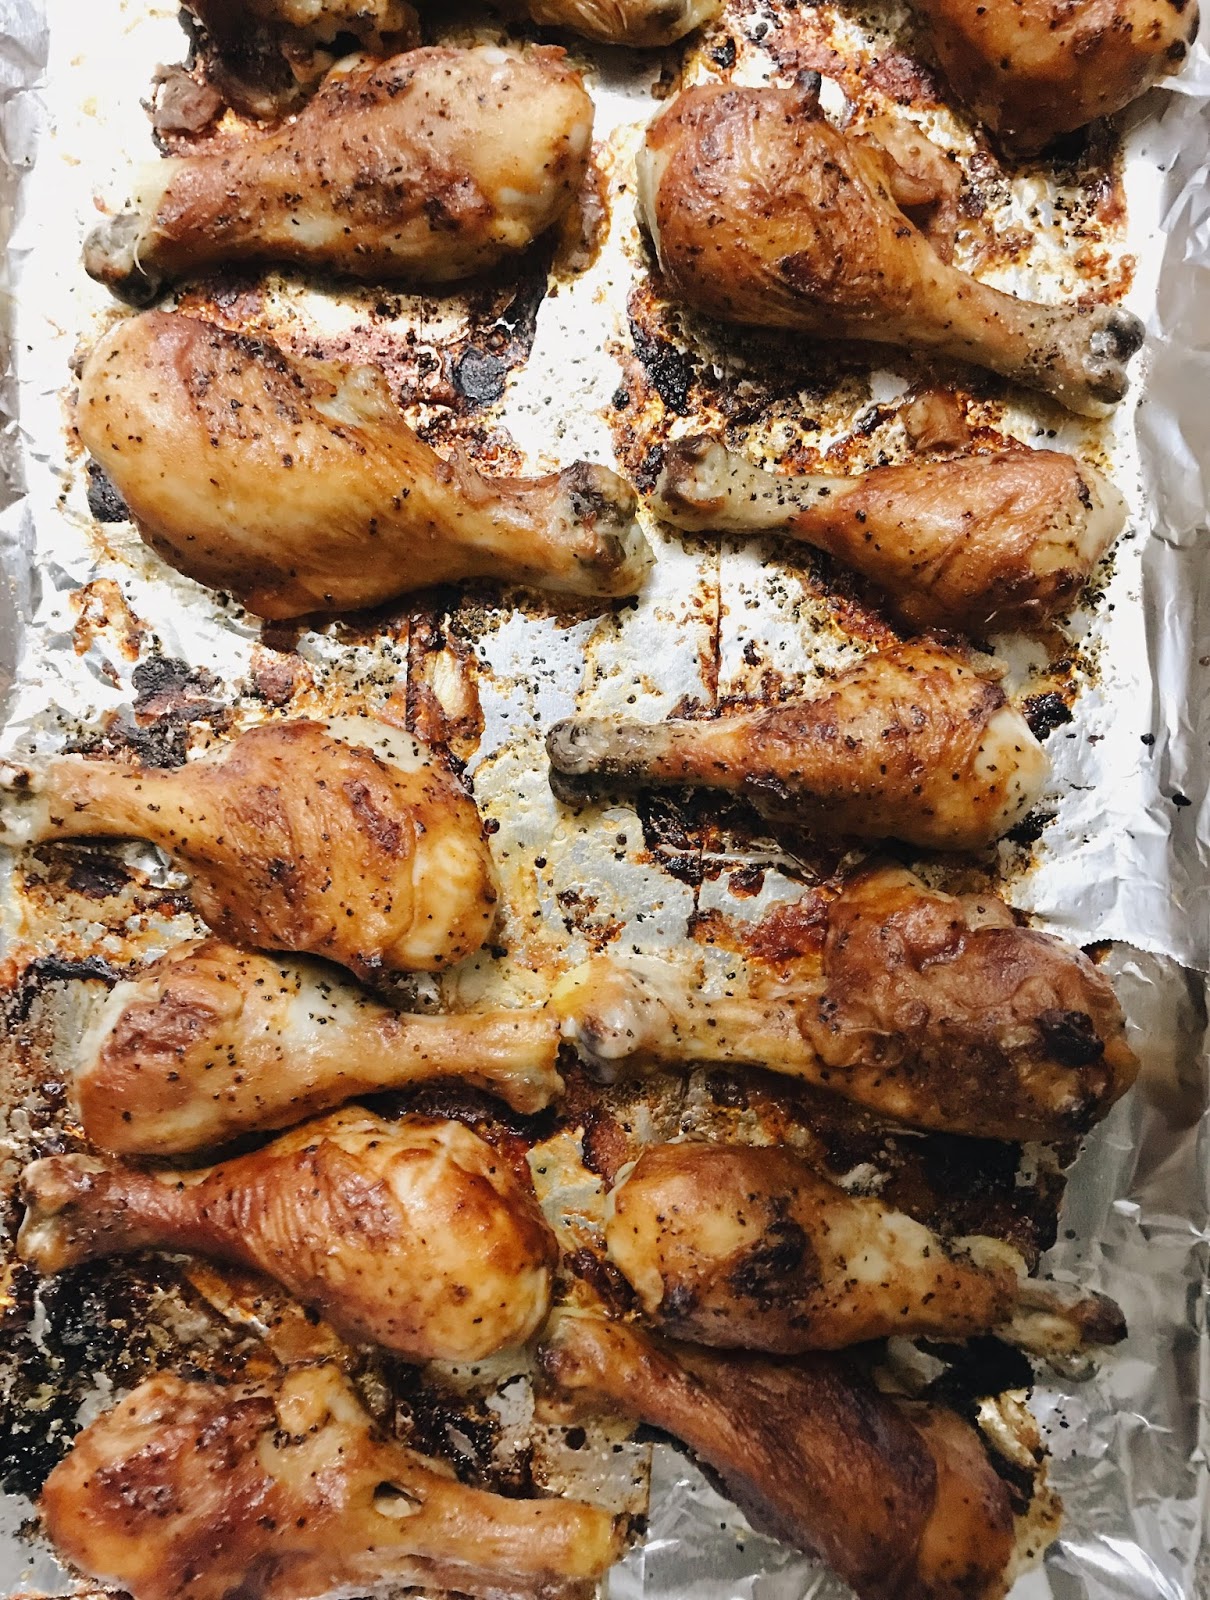


We served these with garlic brown rice & caesar salad.. simple & delicious. Writing all this makes me hungry.. I may have to cook another batch tonight!

I see you. You're alot like me. You have some pans stashed in the kitchen, but you have one favorite that you use for everything. It used to be non-stick, but the stuff wore off in the middle. You need a new pan, but you just don't have time to sift through and find a good one.
That's where I come in. I used to be in your shoes. I've gone through tons of pans, cheap ones, ones I invested in, others I found were destroyed by roommates years ago.. I'd have to buy a new one every few years.
What if I told you that you could use one pan.. or maybe a couple of the same line, and you'd have pans that help you cook better, faster and would last you a lifetime? I'm not talking your run-of-the-mill nonstick pan - I'm talking stainless steel babe. Made In is going to rock your world.. or at least your kitchen!

Without a middle man, there's no markup - they are even made in the United States, with premium pans starting at only $69 - fry pans, sauce pans, pots and more. Your jaw just dropped if you've been shopping around for pans.
If you've never tried stainless, let's get you up to speed. The 5-ply construction means even heat distribution and even cooking - no more half-done chicken and restaurant-style salmon! My favorite part is the chemical-free coating - as typical non-stick pans break down, that residue ends up on the food your eating. You don't even have to worry about a hot handle with these - the handle is built to be heat resistant - which is important for me and my accident-prone nature.
As you're shopping their site, you can choose just one pan, you aren't locked into a set with 5 pans you'll never use and 8 lids you have to store somewhere. You can also utilize the "Build Your Kitchen" feature to narrow down the pans you will use. On top of it all - they'll teach you how to cook with & use your pan, and even care for it with their stainless cleaner - if you're new to stainless cooking - it's way better, trust me.
We cook at home everyday. We meal prep every Sunday. It is so important to have quality & durable gear. Having the right tools to do the job can make all the difference. If you're not stressing about what to pick up for dinner, you can just cook something at home as a healthier and time-saving alternative. Get your kids in the kitchen with you, those are memories they'll always be able to look back on. Gift yourself.. and your family, a nice pan for Christmas - just do it.
I've put this fry pan to the test numerous times now and it just blows me away every. single. time. Today for example, my shrimp where perfectly pan-seared in no time at all. I added some veggies I had in the fridge for a quick & filling low-carb/high protein lunch.

Garlic Butter Pan-Seared Shrimp
Ingredients
2 tablespoons coconut oil
1 1⁄2 lbs shrimp, (peeled and deveined)
1⁄4 teaspoon table salt
1⁄4 teaspoon ground black pepper
1⁄8 teaspoon granulated sugar
3 tablespoons butter
1 tablespoon minced garlic
1 tablespoon lemon juice
2 tablespoons chopped fresh parsley leaves
Directions
1. Toss in your shrimp, salt, pepper, and sugar in medium bowl, then heat your pan to medium-high.
2. Add your oil, swirl to coat the pan then add half of shrimp to pan in single layer and cook until spotty brown and edges turn pink, about 1-2 minutes. Using tongs, flip each shrimp and let cook until cooked through, 1-2 minutes more. Transfer shrimp to a plate. Repeat with remaining tablespoon oil and shrimp.
3. After second batch has been removed from the heat, add the butter to the still warm pan, let melt. Add the garlic and lemon juice. Add the shrimp to the butter mixture, stir to combine and then transfer to a bowl & serve.


...see what I did there? Aria's been on a Rapunzel kick lately. :)
If you have any questions on Made In or kitchen gear, send them my way! I'd love to help you pick the perfect tools for you!
*This post contains some affiliate links. If you purchase a product through one of the links on this page I may earn a small commission at no extra cost to you. Thank you for your support!

You can make these gluten-free or not based on the flour you use. Feel free to use cake flour, white flour or a 1-1 gluten-free flour mix like I did. And I'm using this donut pan.
These come together super quick and bake up even faster, baking up in about 9-10 minutes.
Once the thick donut batter is all mixed together, simply spoon it into a large zipped-top bag and pipe it into the donut cavities through a little corner you’ll cut out. It's the easiest way to get the donut batter neatly into the donut pan. Plus, it’s easy clean up.
While they bake, you can whip up a 1-minute chocolate ganache and dunk the donuts directly into it to frost - then top with sprinkles or whatever your heart desires.

Vanilla Baked Donuts
Yield: I used all the batter and ended up with 7 donuts.
Ingredients:
Donuts
1 cup flour (I used 1:1 gluten free flour)
1 teaspoon baking powder
1/4 teaspoon baking soda
1/4 teaspoon ground nutmeg (gives them that "bakery donut" taste)
1 large egg
1/3 cup packed light brown sugar
1/4 cup milk of choice
1/4 cup sour cream (or greek yogurt)
2 Tablespoons unsalted butter, melted
1 1/2 teaspoons vanilla extract
1-Minute Ganache
1/2 cup semi-sweet chocolate chips
2 Tablespoons unsalted butter
2 teaspoons light corn syrup (optional, to add shine)
Directions:
Preheat the oven to 350°F.
Spray a donut pan with non-stick spray. Set aside.
Make the donuts:
Whisk the flour, baking powder, baking soda, and nutmeg together in a medium bowl. Set aside.
Whisk the egg, brown sugar, milk, and yogurt together until smooth. Add the melted butter and vanilla, whisking until fully combined.
Pour the wet ingredients into the dry ingredients and stir until just combined. Do not overmix. The batter will be very thick.
Spoon the batter into the donut cavities—I highly recommend using a large zipped-top bag for ease, as pictured and explained in detail above. Cut a corner off the bottom of the bag and pipe the batter into each donut cup, filling 2 ∕ 3 –3 ∕ 4 of the way full.
Bake for 9–10 minutes or until the edges are lightly browned. Remove from the pan and bake the remaining donut batter. Allow the donuts to slightly cool before glazing.
To make the chocolate ganache:
Place the chocolate chips & butter (and optional corn syrup) in a medium bowl. Melt in 30 second increments in the microwave, stirring after each time, until completely melted and smooth.
Use the back of a spoon or dip the tops of the donuts into the chocolate glaze and then cover with sprinkles, powdered sugar, chocolate chips, nuts.. anything you'd like!
These donuts taste best eaten the same day, though they may be covered tightly and stored at room temperature for 2 days - if they last that long.


So make yourself some donuts then come back and tell me what you think!!
xoxo,
McKenzie
recipe adapted from here


